How to connect your Read the Docs account to your Git provider
In this how to article, you are shown the steps to connect an account on GitHub, Bitbucket, or GitLab with your Read the Docs account. This is relevant if you have signed up for Read the Docs with your email or if you have signed up using a Git provider account and want to connect additional providers.
If you are going to import repositories from GitHub, Bitbucket, or GitLab, you should connect your Read the Docs account to your Git provider first.
Note
If you signed up or logged in to Read the Docs with your GitHub, Bitbucket, or GitLab credentials, you’re all done. Your account is connected ✅️. You only need this how-to if you want to connect additional Git providers.
Adding a connection
To connect your Read the Docs account with a Git provider, go to the main login menu: <Username dropdown> > Settings > Connected Services.
From here, you’ll be able to connect to your GitHub, Bitbucket, or GitLab account. This process will ask you to authorize an integration with Read the Docs.
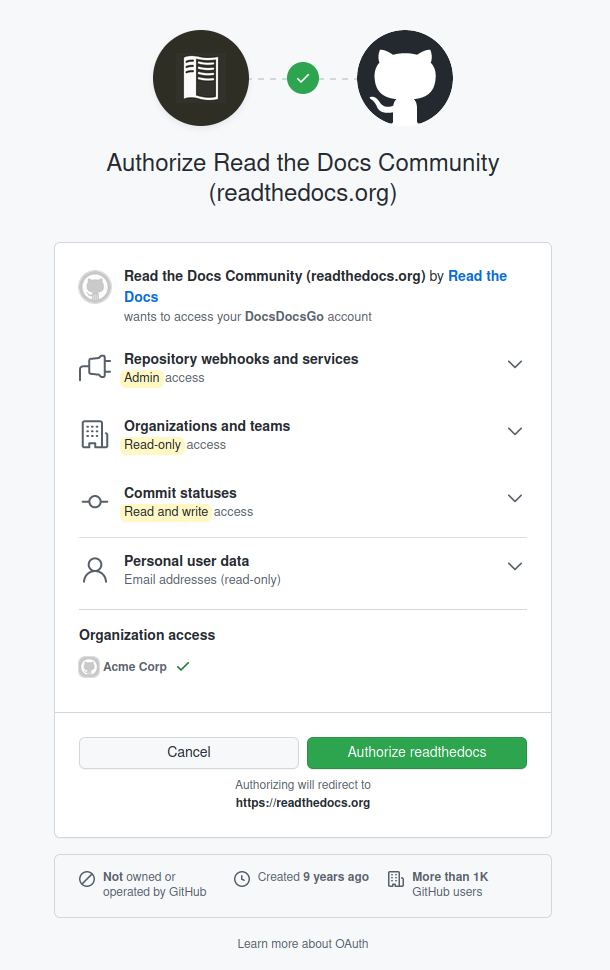
An example of how your OAuth dialog on GitHub may look.
After approving the request, you will be taken back to Read the Docs. You will now see the account appear in the list of connected services.
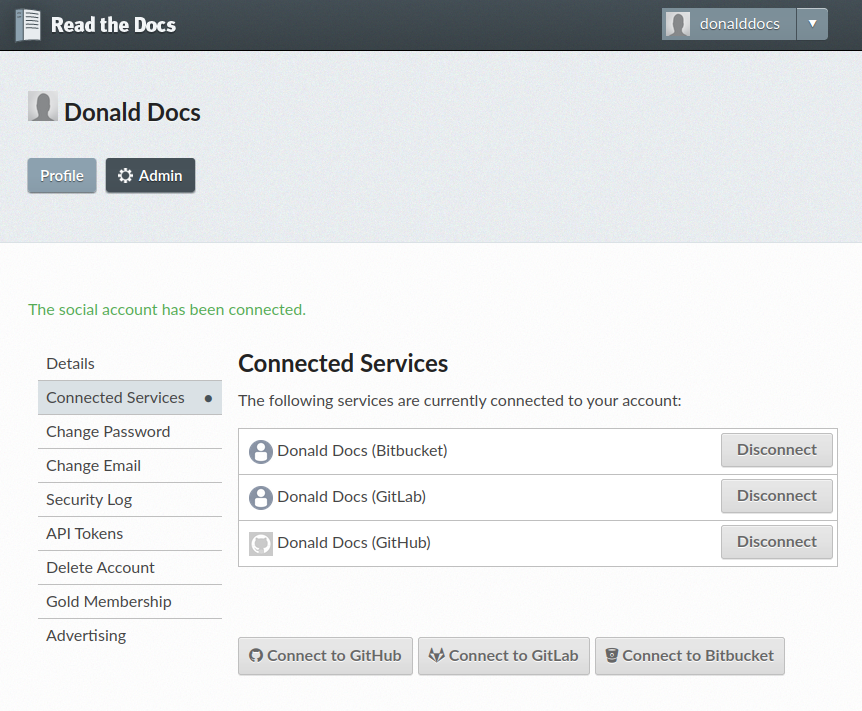
Connected Services [1] [2] shows the list of Git providers that
Now your connection is ready and you will be able to import and configure Git repositories with just a few clicks.
See also
- How to automatically configure a Git repository
Learn how the connected account is used for automatically configuring Git repositories and Read the Docs projects and which permissions that are required from your Git provider.
Removing a connection
You may at any time delete the connection from Read the Docs. Delete the connection makes Read the Docs forget the immediate access, but you should also disable our OAuth Application from your Git provider.
On GitHub, navigate to Authorized OAuth Apps.
On Bitbucket, navigate to Application Authorizations.
On GitLab, navigat to Applications