How to use custom URL redirects in documentation projects
In this guide, you will learn the steps necessary to configure your Read the Docs project for redirecting visitors from one location to another.
User-defined redirects are issued by our servers when a reader visits an old URL, which means that the reader is automatically redirected to a new URL.
See also
- Best practices for linking to your documentation
The need for a redirect often comes from external links to your documentation. Read more about handling links in this explanation of best practices.
- Redirects
If you want to know more about our implementation of redirects, you can look up more examples in our reference before continuing with the how-to.
Adding a redirect rule
Redirects are configured in the project dashboard, go to .
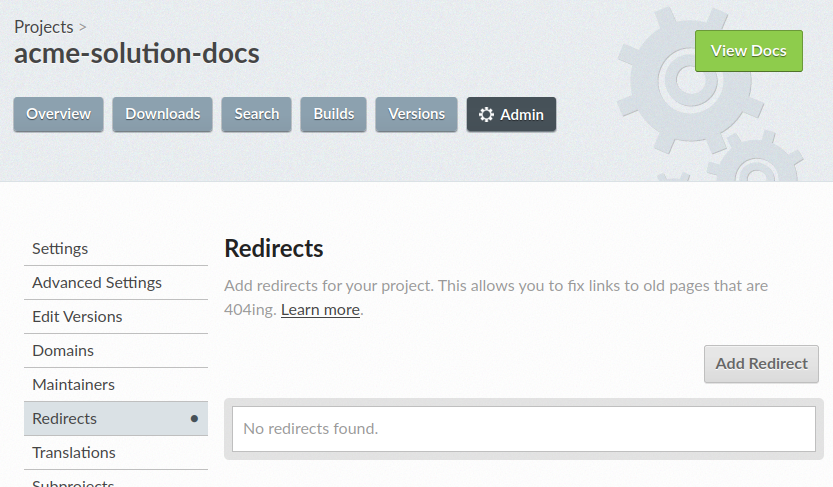
After clicking Add Redirect, you need to select a Redirect Type. This is where things get a bit more complicated you need to fill in specific information according to that choice.
Choosing a Redirect Type
There are different types of redirect rules targeting different needs. For each choice in Redirect Type, you can mark the choice in order to experiment and preview the final rule generated.
Here is a quick overview of the options available in Redirect Type:
- Page redirect
With this option, you can specify a page in your documentation to redirect elsewhere. The rule triggers no matter the version of your documentation that the user is visiting. This rule can also redirect to another website.
Read more about this option in Page redirects
- Exact redirect
With this option, you can specify a page in your documentation to redirect elsewhere. The rule is specific to the language and version of your documentation that the user is visiting. This rule can also redirect to another website.
Read more about this option in Exact redirects
- Clean URL to HTML
If you choose to change the style of your URLs from clean URLs (
/en/latest/tutorial/) to HTML URLs (/en/latest/tutorial.html), you can redirect all mismatches automatically.Read more about this option in Clean/HTML URLs redirects
- HTML to clean URL
Similarly to the former option, if you choose to change the style of your URLs from HTML URLs (
/en/latest/tutorial.html) to clean URLs (/en/latest/tutorial/), you can redirect all mismatches automatically.Read more about this option in Clean/HTML URLs redirects
Note
By default, redirects are followed only if the requested page doesn’t exist (404 File Not Found error). If you need to apply a redirect for files that exist, you can have a Apply even if the page exists option visible. This option is only available on some plan levels. Please ask support to enable it for you.
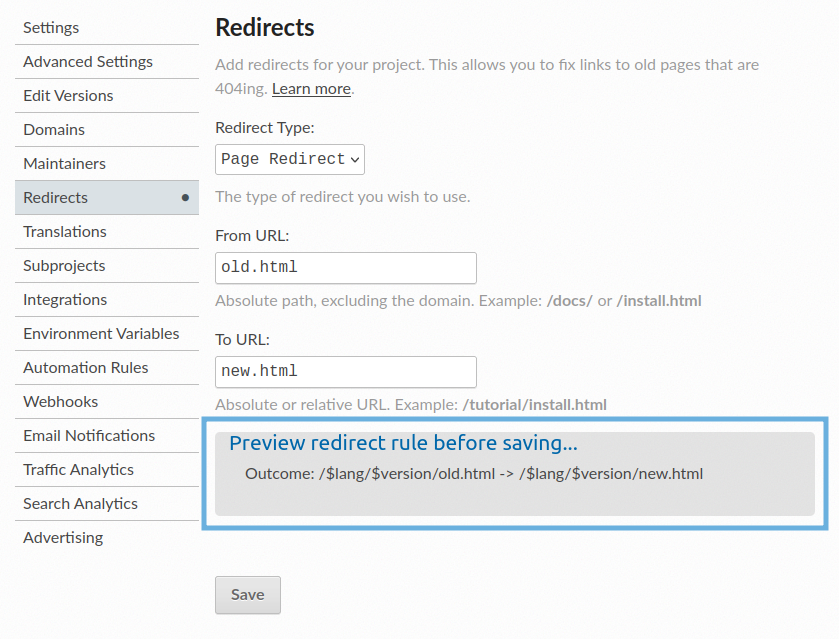
Defining the redirect rule
As mentioned before, you can pick and choose a Redirect Type that fits your redirect need. When you have entered a From URL and To URL and the redirect preview looks good, you are ready to save the rule.
Saving the redirect
The redirect is not activated before you click Save. Before clicking, you are free to experiment and preview the effects. Your redirect rules is added and effective immediately after saving it.
After adding the rule, you can add more redirects as needed. There are no immediate upper bounds to how many redirect rules a project may define.
Editing and deleting redirect rules
You can always revisit . in order to delete a rule or edit it.
When editing a rule, you can change its Redirect Type and its From URL or To URL.
Changing the order of redirects
The order of redirects is important, if you have multiple rules that match the same URL, the first redirect in the list will be used.
You can change the order of the redirect from the page, by using the up and down arrow buttons.
New redirects are added at the start of the list (i.e. they have the highest priority).